PhotoDVD Screenshots
Latest version Screenshots for PhotoDVD
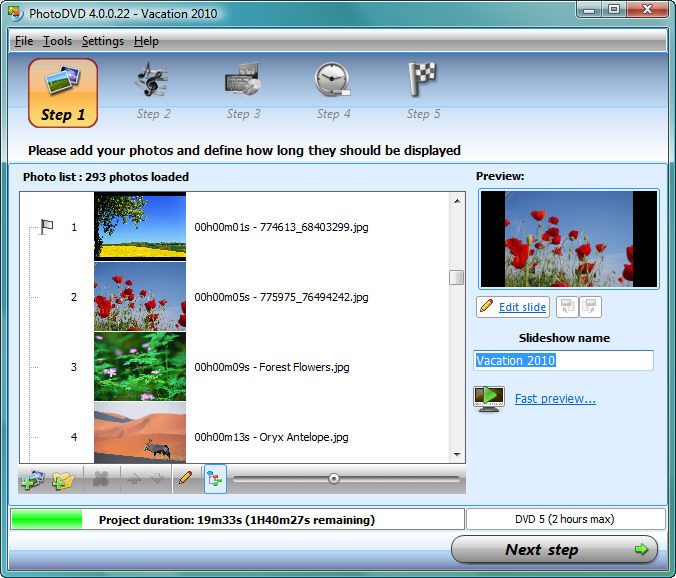
Step 1: Add any picture on your computer to PhotoDVD. You can also preview your pictures on the right screen
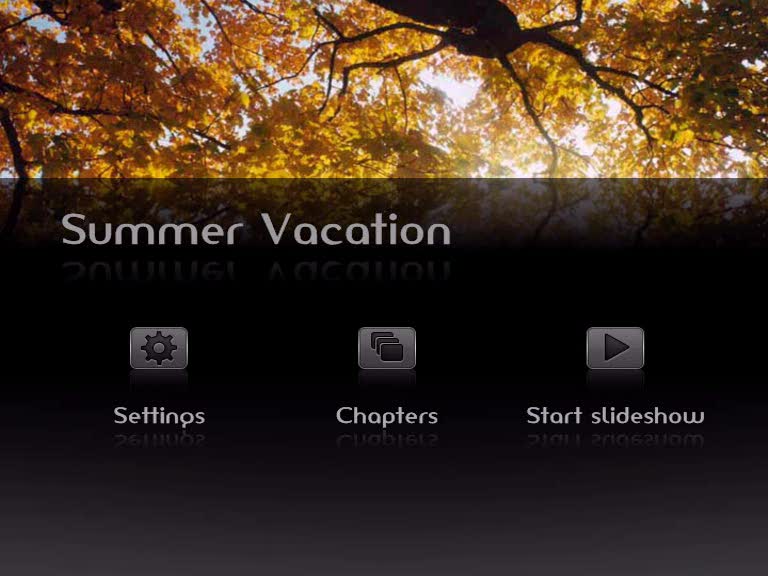
Step 2: After you add all your photos, you can customize your slideshow by adding styles, comments, background music, and effects to your slideshow
Step 3: Finally, you can export your slideshow and burn it to DVD disc. Another powerful tool is that you can fit your slideshow and publish directly to YouTube.

Or
Download Free Functional Edition
- PhotoDVD
- VSO Software
- Latest
- Windows 7 / Vista /XP
Safe Download 100% Virus Free